Non-fungible tokens, or NFTs, have been the renaissance of modern art, specifically for digital art. For creating content, the NFTs have given a new air for art creators and collectors for buying or selling art.
Thanks to the blockchains, NFT can provide a digital certificate that authenticates and gives value to a specific digital art piece, similar to how a curator validates physical art pieces. This digital certificate validates that this is an original and genuine work of art from a certain artist.
This certificate enables the ownership and registers it on the blockchain, where you can verify the value and see the pricing history.
The range of content that can be NFT is really up to the consumer, but at the moment, almost anything can be made into an NFT, songs, GIF´s, images, Digital Art, etc.
So if you have any content and want to make it into an NFT, there are really just a few restrictions, but basically, anyone can enter this growing market and offer their art to collectors.
So what do I need to do to start making my own NFT?
Before you create your own NFTs, you need to know that several platforms are for creating NFTs. An example of them, and one of the most famous ones, are OpenSea, Rarible or SuperRare.
Each platform has its own requirement that you need to fulfil to start making your own NFTs. For example, OpenSea needs a one-time fee for any new collection you upload, or Rarible requires you to mint your NFTs.
Once you have considered this and found the platform or platforms where you are more comfortable to start making your own NFT, you can start creating your NFT.
Step 1: Set up your own Digital Wallet
It is necessary to have your own digital wallet is where you will be storing your cryptocurrency and also hold your NFTs. More specifically, you will need an Ethereum (ETH) wallet, which could be:
These are just some examples of the ones that we think are one of the best, but there are more different wallets, so you should explore one that fits your necessities.
Now that you have chosen your wallet, get some ETH; you will need some to cover the fees for creating your NFTs; depending on which platform you choose, it will be the quantity you will need to cover.
Step 2: Link your wallet to a Platform
Now that you have some ETH and have chosen the platform that you find the best for you, you will need to follow the specific steps that each marketplace requires to start making your own NFTs.
We recommend you to use one of the following marketplaces, OpenSea, Rarible or SuperRare, these are the ones that are the easiest and fastest in where you can start publishing your art.
Step 3: Start Listing your Art!
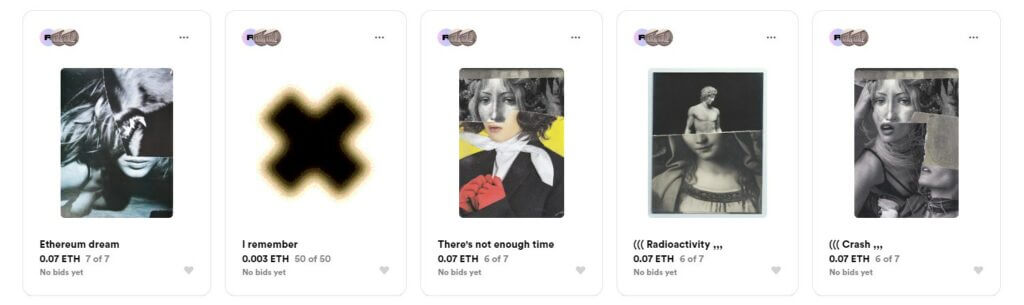
As easy as it sounds, the only step left is for you to start listing your art in the NFT Marketplaces! Now that you have your Digital Art file. Remember, it can be almost anything like GIF, JPG, TXT, MP3, etc.
It could be a single piece, or part of a collection is necessary for you to put a price for it and upload it to the platform and pay the fees for publishing your work.
Last is to wait for bids from the users; we recommend checking your bids from time to time. Some platforms will not inform you of any new bids.